Plumbing Fixture Installation 2025: Ultimate Guide
Why Understanding Plumbing Fixture Installation Matters for Every Homeowner
Plumbing fixture installation is an impactful home improvement project, whether you’re upgrading a bathroom or replacing a leaky faucet. As homeowners invest in modern, water-efficient fixtures, the market continues to grow, reflecting a trend towards improved functionality and aesthetics. The U.S. plumbing fixtures market was valued at $25.3 billion in 2022.
Quick Answer: The 5 Essential Steps for Plumbing Fixture Installation
- Preparation – Turn off water supply, gather tools, and prepare the work area
- Removal – Safely disconnect and remove old fixtures
- Installation – Position and secure new fixtures with proper measurements
- Connection – Attach supply lines, drains, and seal all connections
- Testing – Check for leaks, verify water flow, and ensure proper operation
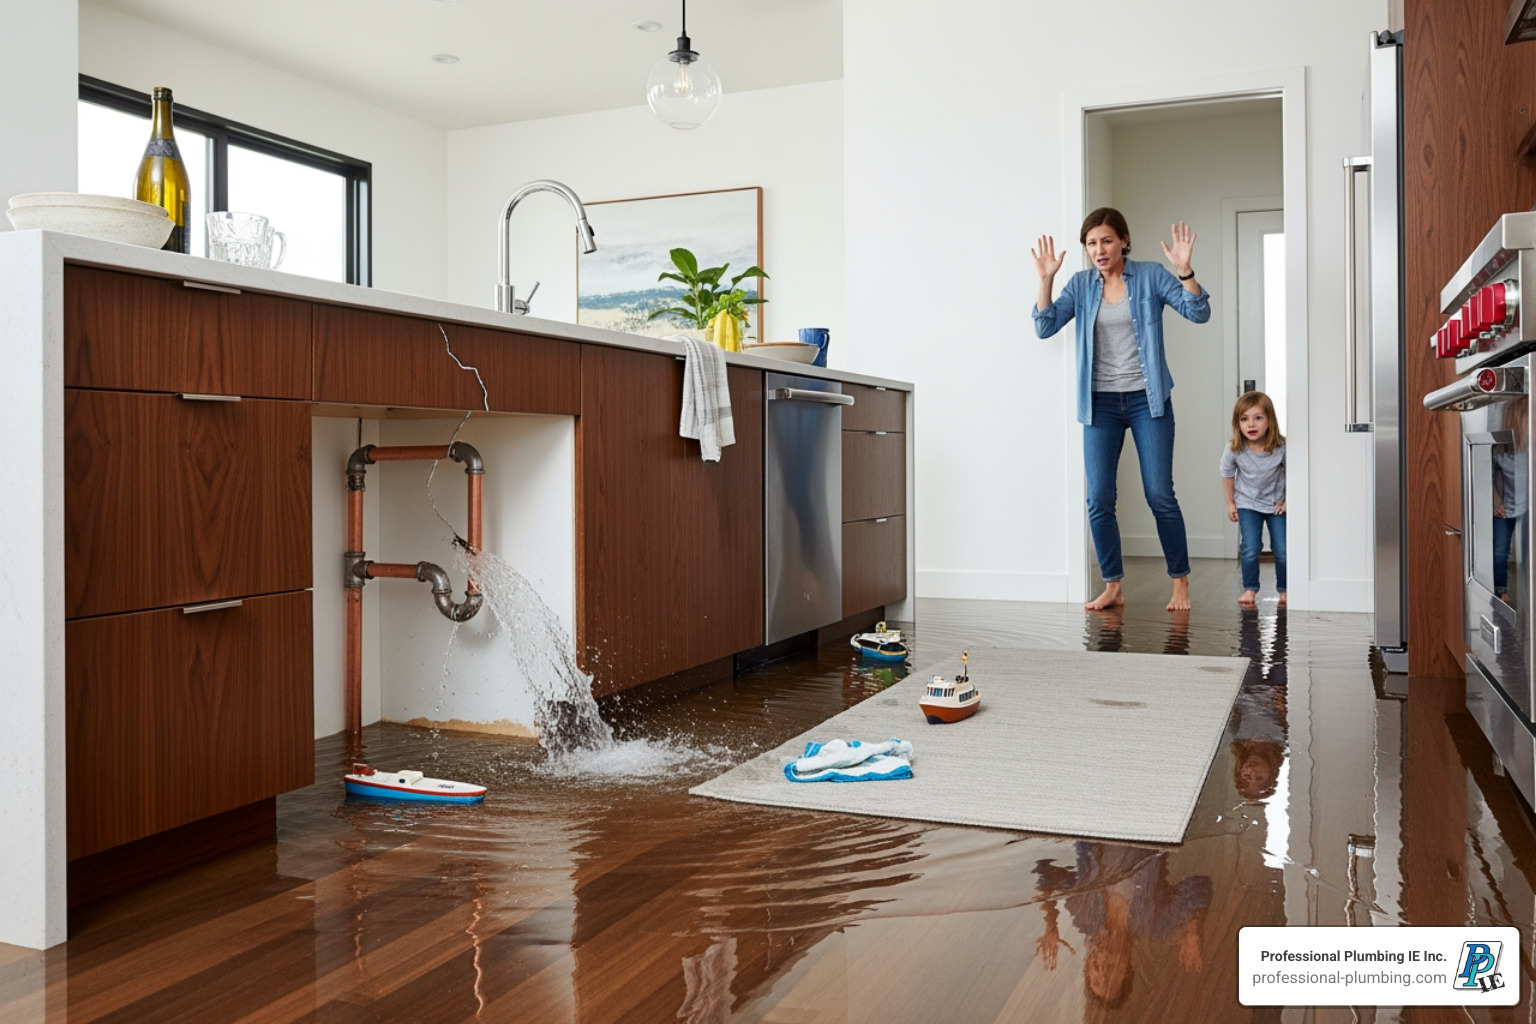
DIY installation can save hundreds of dollars, with a faucet replacement taking 1-2 hours and a toilet 2-4 hours. However, proper installation is critical to avoid water damage, code violations, and costly repairs. The process requires understanding water supply lines, drainage, and sealing techniques. Each fixture has unique needs, from a toilet’s wax ring seal to a shower valve’s precise depth within a wall.
When to DIY vs. Call a Professional
Simple replacements like faucets and showerheads are great DIY projects. More complex jobs—like moving plumbing lines or installing shower valves—require professional expertise to ensure code compliance and safety.
With 40 years of experience at Professional Plumbing IE Inc., I’ve guided many homeowners in the Inland Empire through successful plumbing fixture installation projects. This guide will cover everything from basic replacements to advanced installations, helping you decide between DIY and calling our experts.

Basic plumbing fixture installation vocab:
Getting Started: Preparation, Tools, and Safety
Proper preparation is key to a smooth, leak-free plumbing fixture installation. Gathering tools, shutting off the water, and preparing the work area will prevent headaches later.

Turning Off the Water Supply
The first, most crucial step is shutting off the water supply to prevent leaks and water damage. For single fixtures, you can often use the local stop valve instead of the main shut-off.
Locate the main shut-off valve (often in a basement, utility closet, or near the water meter) and turn it clockwise until it’s off. For lever-style valves, turn the lever perpendicular to the pipe. Open a low-point faucet to drain the pipes and relieve pressure. Keep a bucket and towels handy. If water still flows, the valve may be faulty, and you should call us for assistance.
Essential Tools and Materials
Having the right tools makes all the difference. Here’s a list of essentials for most plumbing fixture installation projects:
- Adjustable Wrench: For tightening/loosening nuts (6″ and 10″ sizes are useful).
- Basin Wrench: Indispensable for reaching tight spaces under sinks.
- Pipe Wrench: For gripping and turning pipes.
- Pliers: Slip-joint, channel-lock, and needle-nose types.
- Screwdrivers: Phillips and flathead.
- Utility Knife: For cutting caulk or tape.
- Putty Knife: For scraping old caulk or applying plumber’s putty.
- Caulk Gun and Silicone Caulk: For creating waterproof seals.
- Plumber’s Putty: For watertight seals under sink drains and faucets.
- Thread Seal Tape (Teflon Tape): Essential for sealing threaded pipe connections.
- Bucket and Towels: To catch water and for cleanup.
- Safety Gear: Gloves and safety glasses are a must.
- New Supply Lines: It’s always wise to replace old supply lines with new fixtures.
Preparing the Installation Area
Once the water is off and tools are ready, prepare the installation area.
- Cleaning Surfaces: Remove old caulk, debris, and rust. A clean surface is essential for a proper seal.
- Measuring for Fit: Double-check that your new fixture fits the existing space. This may involve marking and cutting countertops for sinks or ensuring proper valve depth for showers.
- Cutting Access Panels: Some installations, like for shower valves, may require cutting an access panel in an adjacent wall for easier installation and future maintenance.
- Preparing Shower Floors: For showers, absolute waterproofing is paramount. An impervious waterproof subbase must be installed under the shower floor, and all pipe openings must be sealed.
- Protecting Surrounding Areas: Use drop cloths to protect nearby surfaces from dust, water, or damage.
Bathroom Fixture Installation: A Step-by-Step Guide
New bathroom fixtures can dramatically transform a space. Whether it’s a bathroom remodelling project or a simple replacement, following the correct steps is vital for success.
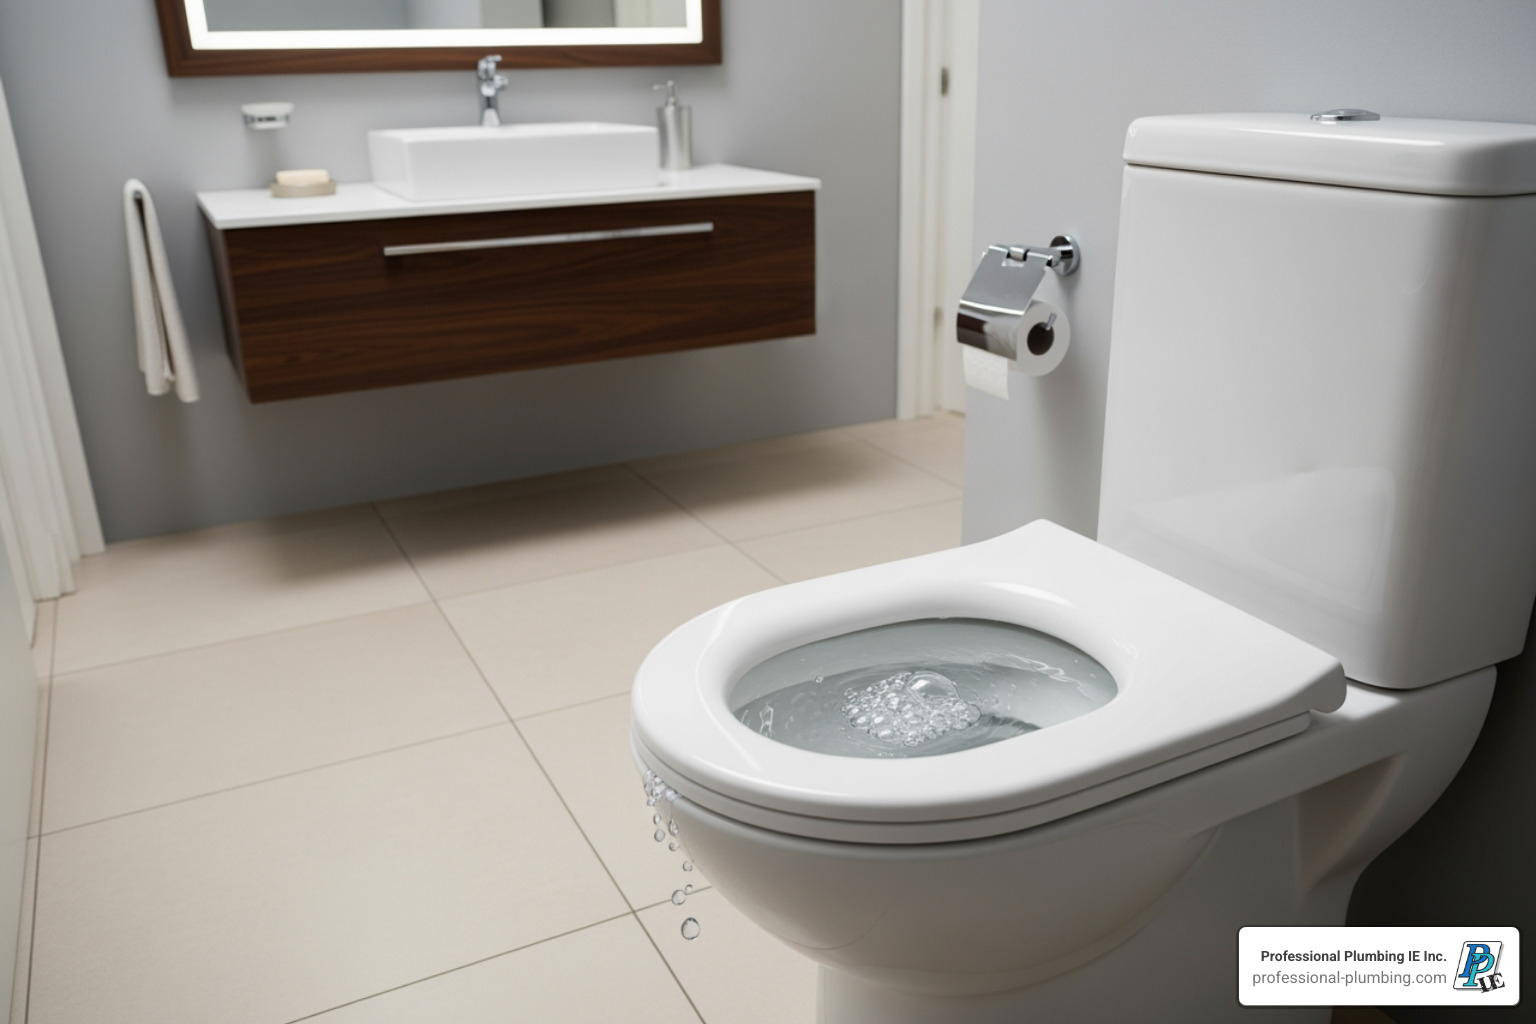
Key Steps for a Successful Toilet Plumbing Fixture Installation
Installing a new toilet is a manageable plumbing fixture installation project with the right approach.
- Remove the Old Toilet: Turn off the water, flush to empty the toilet, then disconnect the supply line. Remove the floor nuts, lift the old toilet off the flange, and stuff a rag in the drain pipe to block sewer gas.
- Prepare the Flange: Inspect the toilet flange for damage. Ensure it’s secure and at the correct height. A repair ring may be needed.
- Install the Wax Ring: Press a new wax ring (or waxless gasket) onto the bottom of the new toilet, centered on the drain opening. This creates the critical watertight seal. Never use plumber’s putty here.
- Set the Bowl: Align the bowl’s bolt holes with the closet bolts on the flange and lower it straight down. Press firmly to compress the wax ring.
- Secure the Bowl: Place washers and nuts on the closet bolts. Tighten them alternately until the bowl is snug, but don’t overtighten to avoid cracking the porcelain. Trim excess bolt length if needed.
- Assemble the Tank (if two-piece): Place the gasket on the tank’s flush valve, lower the tank onto the bowl, and secure it with bolts, washers, and nuts.
- Connect the Supply Line: Attach a new water supply line to the toilet’s fill valve and the shut-off valve. Hand-tighten, then give a final quarter turn with a wrench.
- Test for Leaks: Slowly turn the water on. Flush several times and inspect all connections and the base for leaks. For more details, see guides like Learn How to Install a Toilet | KOHLER. If you notice your toilet gurgling, it could indicate another issue, which we cover in our article on toilet gurgling.
- Finishing Touches: Install the toilet seat and caulk around the base for a finished look.
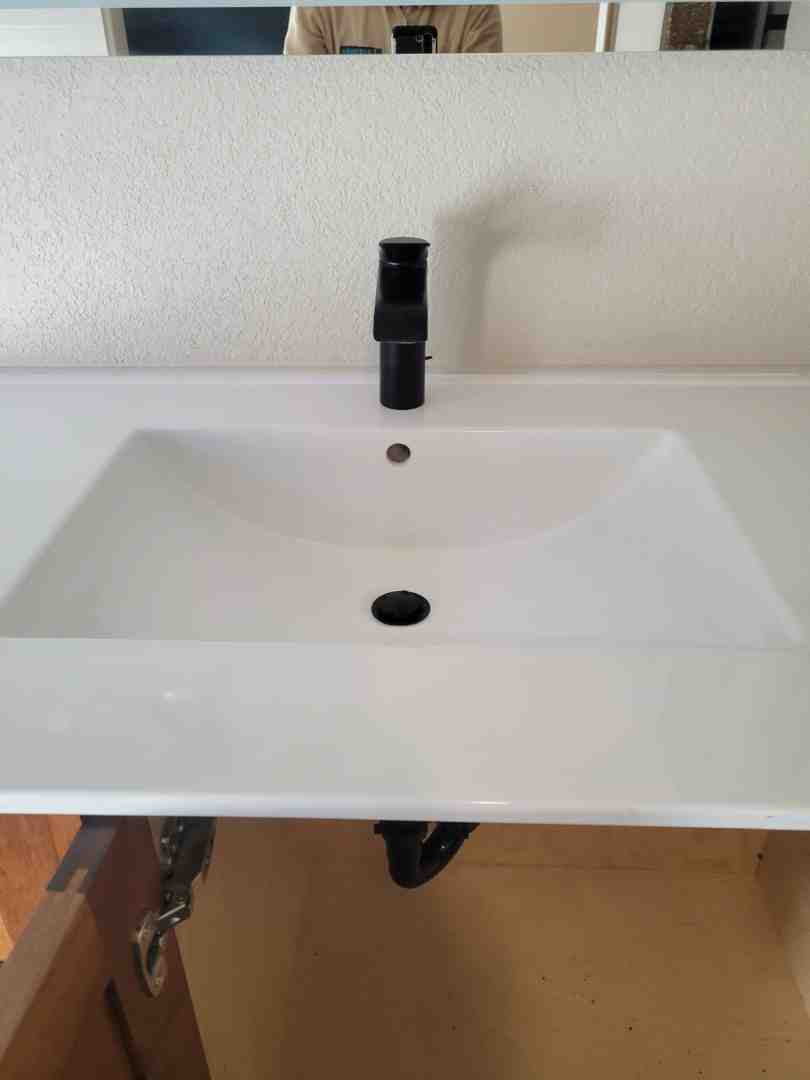
Installing Bathroom Sinks and Faucets
Proper plumbing fixture installation of sinks and faucets ensures both beauty and function.
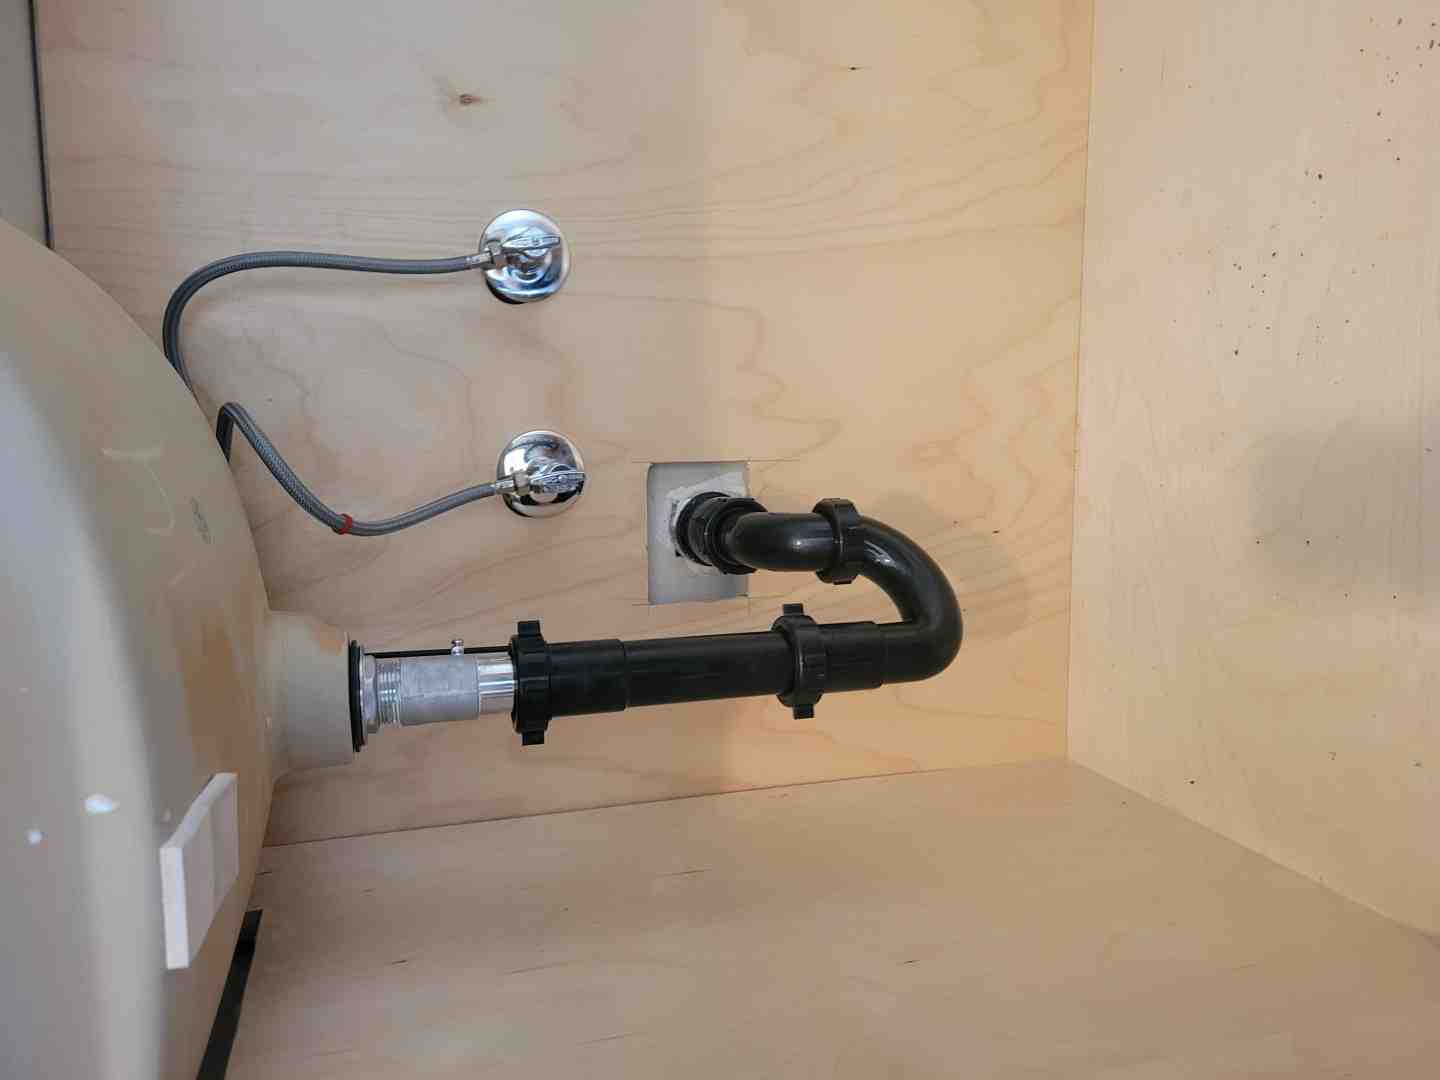
- Remove the Old Fixture: Shut off the water, then disconnect the supply lines and P-trap. Use a basin wrench to remove the old faucet and lift out the sink. Clean the area thoroughly.
- Install the New Faucet: It’s often easier to install the faucet onto the sink before setting the sink. Apply plumber’s putty (if needed), insert the faucet, and secure it from underneath. Attach new supply lines.
- Install the Drain Assembly: Apply plumber’s putty to the drain flange, insert it into the sink’s drain opening, and secure it from below. Attach the tailpiece and connect the lift rod mechanism for pop-up drains.
- Set the Sink:
- Drop-in Sinks: Apply silicone caulk to the countertop opening and lower the sink into place, securing it with clips.
- Undermount Sinks: These are secured under the countertop with clips and adhesive.
- Pedestal Sinks: These must be secured to both the wall and the floor.
- Connect Supply Lines & P-Trap: Attach the supply lines from the faucet to the shut-off valves. Then, connect the P-trap to the sink’s tailpiece and the wall drainpipe.
- Test for Leaks: Turn the water on slowly. Run hot and cold water, then fill and drain the sink. Check all connections for leaks. If you find a leak, see our faucet repair Riverside complete guide or tips on bathroom sink leak repair.
Shower and Tub Fixture Installation
These are more complex plumbing fixture installation projects due to concealed plumbing and waterproofing needs.
- Prepare and Waterproof: Shower installation requires a shower pan and absolute waterproofing of walls and floors. Use an impervious subbase and seal all pipe openings to prevent water damage and mold.
- Install the Mixing Valve: Install the shower mixing valve inside the wall, securing it to studs. The depth is crucial and must account for the finished wall material and trim kit.
- Connect Water Lines: Connect hot and cold supply lines to the valve. For a tub/shower combo, also connect pipes for the tub spout and shower arm. Use thread seal tape on all threaded connections.
- Install Tub Drain and Overflow: For tubs, install the drain and overflow assembly according to manufacturer instructions, ensuring a proper seal.
- Test Before Closing the Wall: Before finishing the wall, cap the spout and shower arm openings and turn on the water. Test the valve and all connections for leaks. This “rough-in” test is crucial.
- Finish Walls and Install Trim: Complete the wall finishes (e.g., tile). Then, install the decorative trim, handle, tub spout, and showerhead. For more insights, see our bathroom plumbing project guide.
- Final Leak Check: Turn on the water and test the shower and tub thoroughly, checking for any leaks.
Kitchen & Laundry Room Fixture Installation
Kitchens and laundry rooms are hubs of activity that rely on functional plumbing. Proper plumbing fixture installation in these areas is essential for daily convenience.
Kitchen Plumbing Fixture Installation: Sinks, Faucets, and Appliances
The kitchen contains a high concentration of plumbing fixtures. Our services for commercial kitchen plumbing also highlight the complexity of these systems.
- Kitchen Faucets: Installation is similar to bathroom faucets. Use durable braided stainless steel supply lines for resistance to bursting and corrosion.
- Garbage Disposals: Mounts to the sink drain. Secure it well to prevent vibration, and connect the drain line to the P-trap.
- Dishwasher Hookups: Requires a hot water supply, a drain line, and electricity. A drain air gap is essential to prevent backflow and protect your water supply.
- Water Filtration Systems: Under-sink systems tap into the cold water line and may require a dedicated faucet, which involves drilling a hole in the countertop.
- Ice Maker Lines: A dedicated water line (usually 1/4-inch tubing) is run from a cold water supply pipe to the refrigerator.
Laundry Room Fixtures
Laundry rooms depend on robust plumbing for efficient operation.
- Washing Machine Hookups: Connect hot/cold supply lines and the drain hose. Recessed supply boxes provide secure connections and save space.
- Utility Sinks: Installation is similar to other sinks. Individual shut-off valves are recommended for easier maintenance.
- Drain Requirements: Secure the washing machine drain hose in a standpipe or utility sink to prevent it from coming loose. For any drain issues, our drain services are available.
- Hammer Arrestors: We recommend installing these on washing machine supply lines to reduce “water hammering” pressure spikes, which can damage appliance valves over time.
Advanced Considerations for a Flawless Plumbing Fixture Installation
Beyond the basics, several advanced factors distinguish a good DIY job from a professional-grade plumbing fixture installation.
The Impact of Water Pressure and Sealing
Proper water pressure is vital. Too little causes weak flow; too much strains connections and causes leaks. If your home’s water pressure is above 80 psi, a pressure-reducing valve (PRV) is needed to protect your plumbing.
- Water Hammer: Banging noises in pipes indicate pressure spikes. Hammer arrestors can mitigate this, especially for appliances like washing machines.
- Sealing Materials: Using the right sealant is crucial.
- Thread Seal Tape (Teflon Tape): Use on threaded connections for a watertight seal.
- Plumber’s Putty: Ideal for seals under sink drains and faucet bases.
- Silicone Caulk: Provides a durable, waterproof barrier around fixture bases and countertops.
Understanding Plumbing Codes and Accessibility
Plumbing codes ensure safety and proper function. Ignoring them can cause serious issues and affect your home’s saleability.
- Code Compliance: Local plumbing codes in Riverside, Eastvale, Corona, Norco, Jurupa Valley, and Mira Loma can vary. Professionals are experts in local regulations, ensuring your installation is compliant.
- Minimum Pipe Diameters: Codes specify minimum supply pipe diameters for adequate flow. For example, a standard toilet typically requires a 1/2-inch supply pipe.
- Accessibility for Maintenance: Good installation considers future maintenance. Individual shut-off valves for each fixture simplify repairs without shutting off water to the whole house. Access panels for tub and shower plumbing save time and money on future service. For those looking to deepen their understanding, trade school courses are available, such as those found via Explore Courses for trade school diplomas.
Gas Line Safety for Appliances
Gas line installation for appliances like water heaters or dryers is not a DIY job. Due to extreme safety risks, always call a professional.
- Safe Placement & Sealing: Gas lines must be routed safely and all connections sealed with specialized sealants to prevent leaks.
- Leak Testing: After any gas line work, a leak test is imperative. Bubbles from a soapy solution indicate a leak that needs immediate attention.
- Professional Gas Line Work: Gas line installation and repair require specific certifications, permits, and tools. For all your gas line needs, refer to our general plumbing services.
Post-Installation: Testing, Troubleshooting, and Common Repairs
The final and most important stage of any plumbing fixture installation is thorough testing to catch potential issues before they become major problems.
Testing Your New Fixtures
After all connections are tight, it’s time to test:
- Gradual Water Turn-On: Slowly turn the main water supply back on and listen for any unusual sounds.
- Check Connections: Run water through each fixture (hot and cold) and feel around all connections for dampness or drips.
- Test Drainage: Ensure sinks, tubs, and showers drain quickly and toilets flush powerfully.
- Inspect for Leaks: Use a flashlight to inspect under sinks and around bases. For hidden leaks, specialized leak detection tools can help. A single faucet dripping one drop per second wastes over 2,000 gallons of water per year.
Common Plumbing Repairs
Even with perfect installation, issues can arise. Knowing how to identify common problems is key.
- Locating Pipe Leaks: Leaks can be obvious drips or hidden wet spots on walls. We use tools like thermal cameras to find hidden leaks.
- Temporary Leak Repair: A repair clamp with a rubber gasket can provide a temporary seal on a leaking pipe in an emergency.
- Thawing Frozen Pipes: Use hot water to thaw frozen pipes, starting from the open end. Never use an open flame.
- Fixing Drips: A dripping faucet usually needs new washers or gaskets.
- Toilet Issues: A constantly running toilet often means a worn flapper or fill valve. Our plumbing maintenance Riverside services can help prevent these issues.
Frequently Asked Questions about Plumbing Fixture Installation
When should I call a professional plumber?
While many plumbing fixture installation tasks are DIY-friendly, calling us is the smartest choice for certain jobs to ensure safety and code compliance.
- Complex Installations: Such as shower mixing valves, wall-hung toilets, or large bathtubs.
- Major Renovations: If you’re moving plumbing lines or altering drain systems.
- Gas Line Work: Always requires a licensed professional due to safety risks.
- Code Uncertainty: To ensure your work meets local regulations in your area.
- Lack of Tools or Time: We can get the job done efficiently and correctly.
- Persistent Issues: If a DIY attempt fails to solve the problem.
What is the most difficult plumbing fixture to install for a DIYer?
Based on our experience, the most challenging plumbing fixture installation for a DIYer includes shower valves (concealed in walls), bathtubs (leveling and drain assemblies), undermount sinks (requiring precise cuts and adhesion), and wall-hung toilets (requiring in-wall carriers). These projects often benefit from a plumber’s expertise.
How long does a typical fixture installation take?
Installation time for a plumbing fixture installation depends on the fixture, existing plumbing, and your skill level. Here are general estimates for a DIYer:
- Faucet Replacement (Sink): 1-2 hours
- Toilet Installation: 2-4 hours
- Sink Installation (Drop-in): 2-3 hours
- Bathroom Vanity & Faucet (combined): 6-8 hours
- Tub/Shower Faucet (Valve Replacement): 4-8 hours, depending on access.
- Bathtub or Shower Base Installation: 1-2 days
Unforeseen issues like rusted bolts or damaged parts can extend any project.
Conclusion
A successful plumbing fixture installation is rewarding, enhancing your home’s function and look. Whether it’s a simple faucet or a major renovation, the principles of proper preparation, careful installation, and diligent testing are key.
We encourage confident DIYers to tackle projects using quality materials and best practices. However, some jobs are best left to experts. The plumbing market is always evolving, making professional advice more valuable than ever.
For nearly 40 years, Professional Plumbing IE Inc. has served Riverside, Eastvale, Corona, Norco, Jurupa Valley, and Mira Loma. Our team provides guaranteed quality service, ensuring your plumbing fixture installation is flawless and durable.
For complex projects or if you encounter any issues, ensure a flawless and code-compliant result by contacting our experts for your general plumbing needs. We offer a wide variety of plumbing services and are always here to help you achieve the comfortable and efficient home you deserve.