Bathroom sink leak repair: Ultimate 2025 Guide!
Why Bathroom Sink Leak Repair Matters for Your Home
Bathroom sink leak repair is a common task for homeowners, and ignoring a small drip can lead to serious problems. Whether it’s a dripping faucet, water under the sink, or a damaged cabinet, addressing leaks quickly saves water, prevents costly damage, and maintains a healthy home.
Quick Answer: How to Fix a Bathroom Sink Leak
- Turn off the water supply under the sink.
- Identify the leak source—faucet, drain pipe, or sink basin.
- For faucet leaks: Replace worn O-rings or cartridges.
- For drain pipe leaks: Tighten slip nuts or replace washers.
- For sink basin leaks: Reseal the drain flange with plumber’s putty.
- Test your repair by running water and checking for drips.
Most leaks come from the faucet (worn parts), the drain pipe (loose connections), or the sink basin (failed seals). The stakes are high: the EPA notes a single leaky faucet can waste over 3,000 gallons of water annually. This waste inflates your water bill and can lead to mold, rot, and structural damage.
The good news is that many leaks are DIY-friendly. This guide will help you diagnose the problem, gather materials, and make lasting repairs. We’ll also clarify when it’s best to call a professional.
 Faucet area with worn O-rings and cartridges at the top, 2) Drain pipe connections with slip nuts and P-trap in the middle, and 3) Sink basin drain flange seal at the bottom, with arrows pointing to common failure points in each area - bathroom sink leak repair infographic")
Pinpointing the Problem: How to Find the Source of the Leak
You can’t fix a leak you can’t find. Water is sneaky and can travel from its source before dripping, so a methodical approach is key.
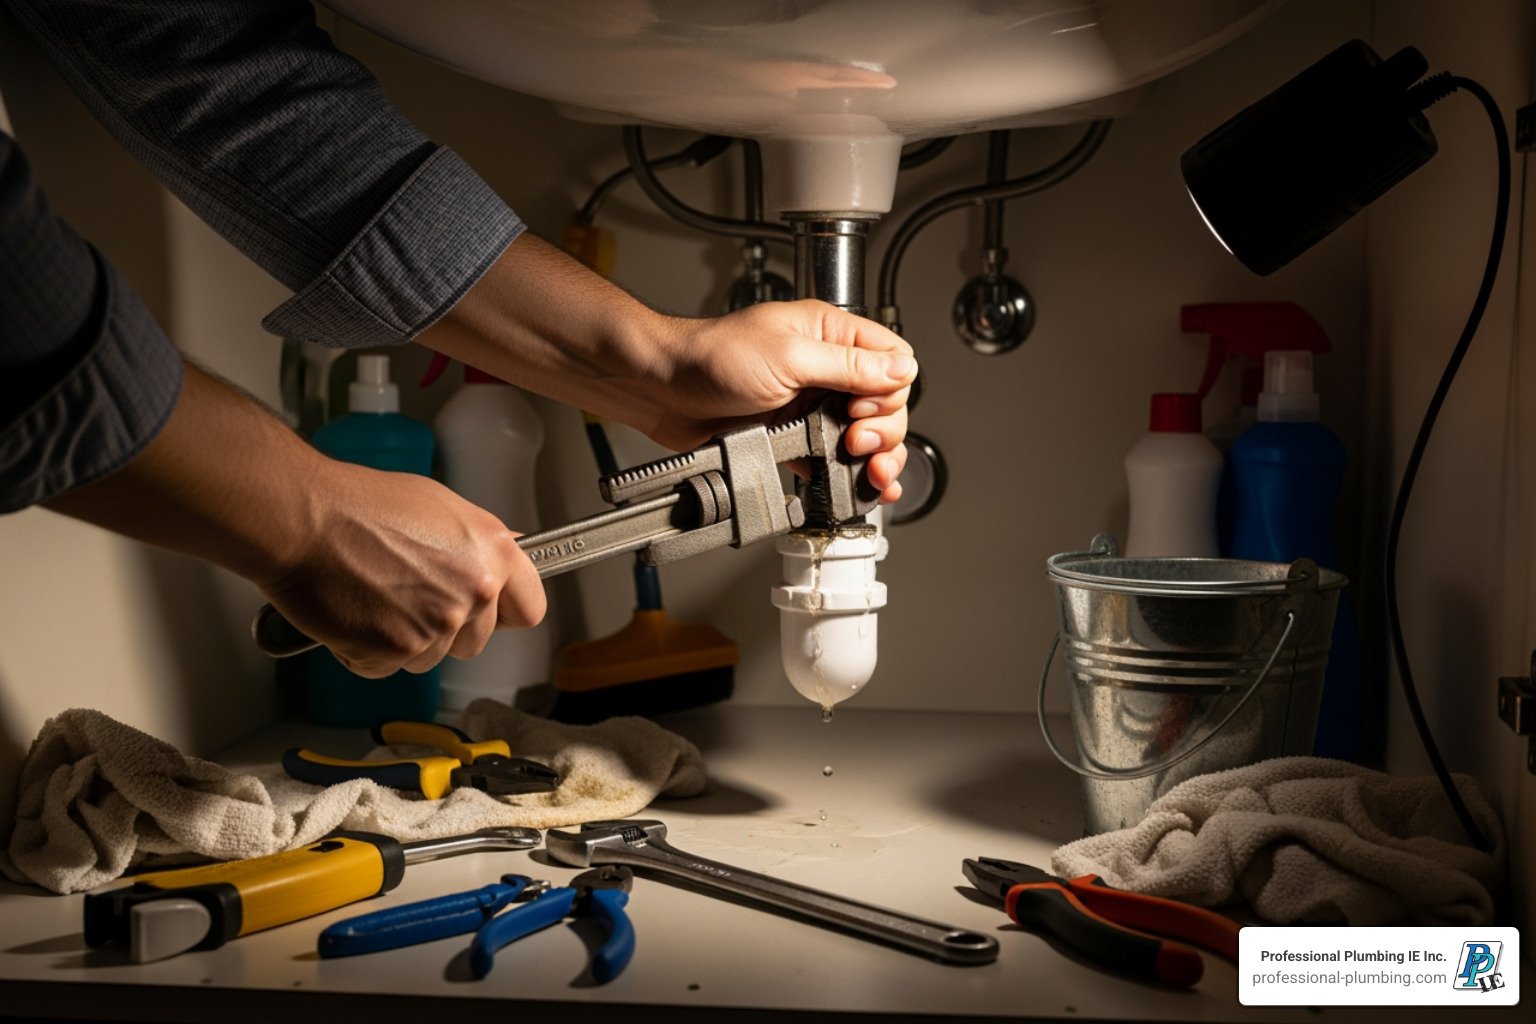
First, clear everything from under the sink for visibility. Grab rags and dry every pipe, connection, and the cabinet floor until it’s bone dry. Then, lay fresh paper towels across the cabinet bottom to act as leak detectors. Turn on the faucet and use a flashlight to watch for the first drop of water. Scan from the faucet down the supply lines, across the P-trap, and along the drain assembly. The wet spot on the paper towels will pinpoint the source.
This “dry and observe” method saves time and prevents incorrect repairs. If you’re struggling to find a tricky leak, our team offers expert diagnostics through our general plumbing services.
Common Leak Locations and Their Telltale Signs
Bathroom sinks tend to leak in a few predictable places:
- Faucet Base: Water pools where the faucet meets the sink, often due to loose mounting nuts or failed gaskets.
- Spout Drip: A constant drip when the faucet is off points to worn internal parts like O-rings, washers, or a faulty cartridge.
- Handle Leaks: Water seeping from the handles indicates worn O-rings or seals within the handle assembly.
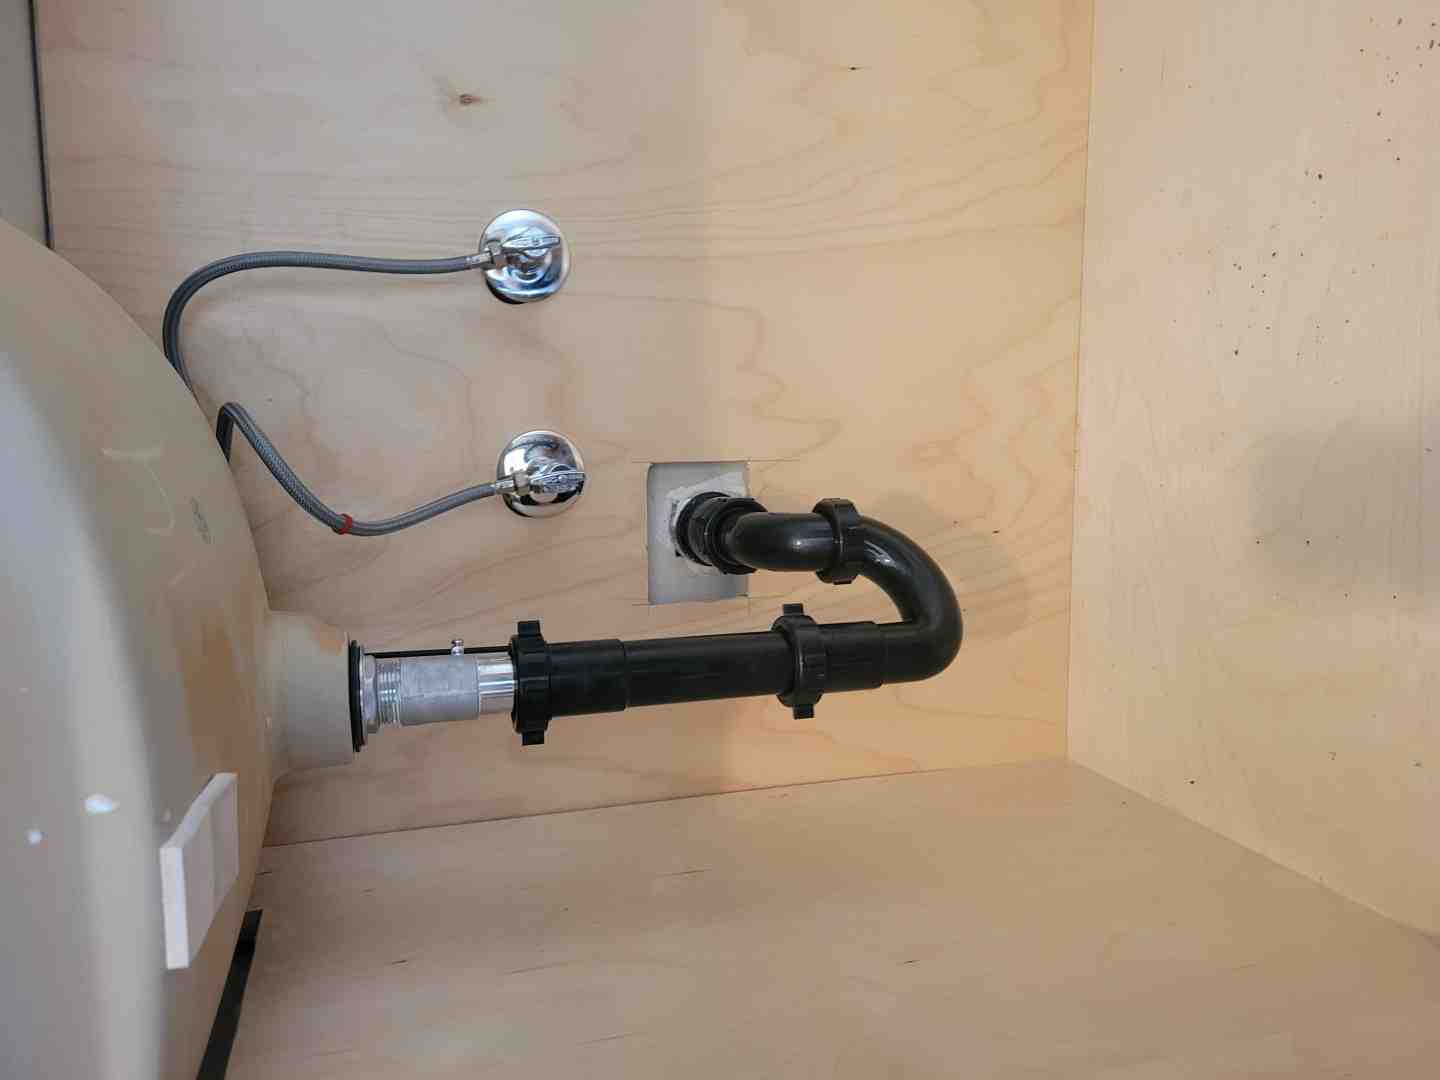
- P-trap: Leaks at the threaded slip nuts on the U-shaped pipe are common. The trap itself can also crack.
- Drain Flange Seal: Water leaking from under the sink when it’s full means the plumber’s putty or gasket under the drain ring has failed.
- Sink Rim Caulk: Water around the edge where the sink meets the countertop is a failed caulk seal, not a plumbing leak.
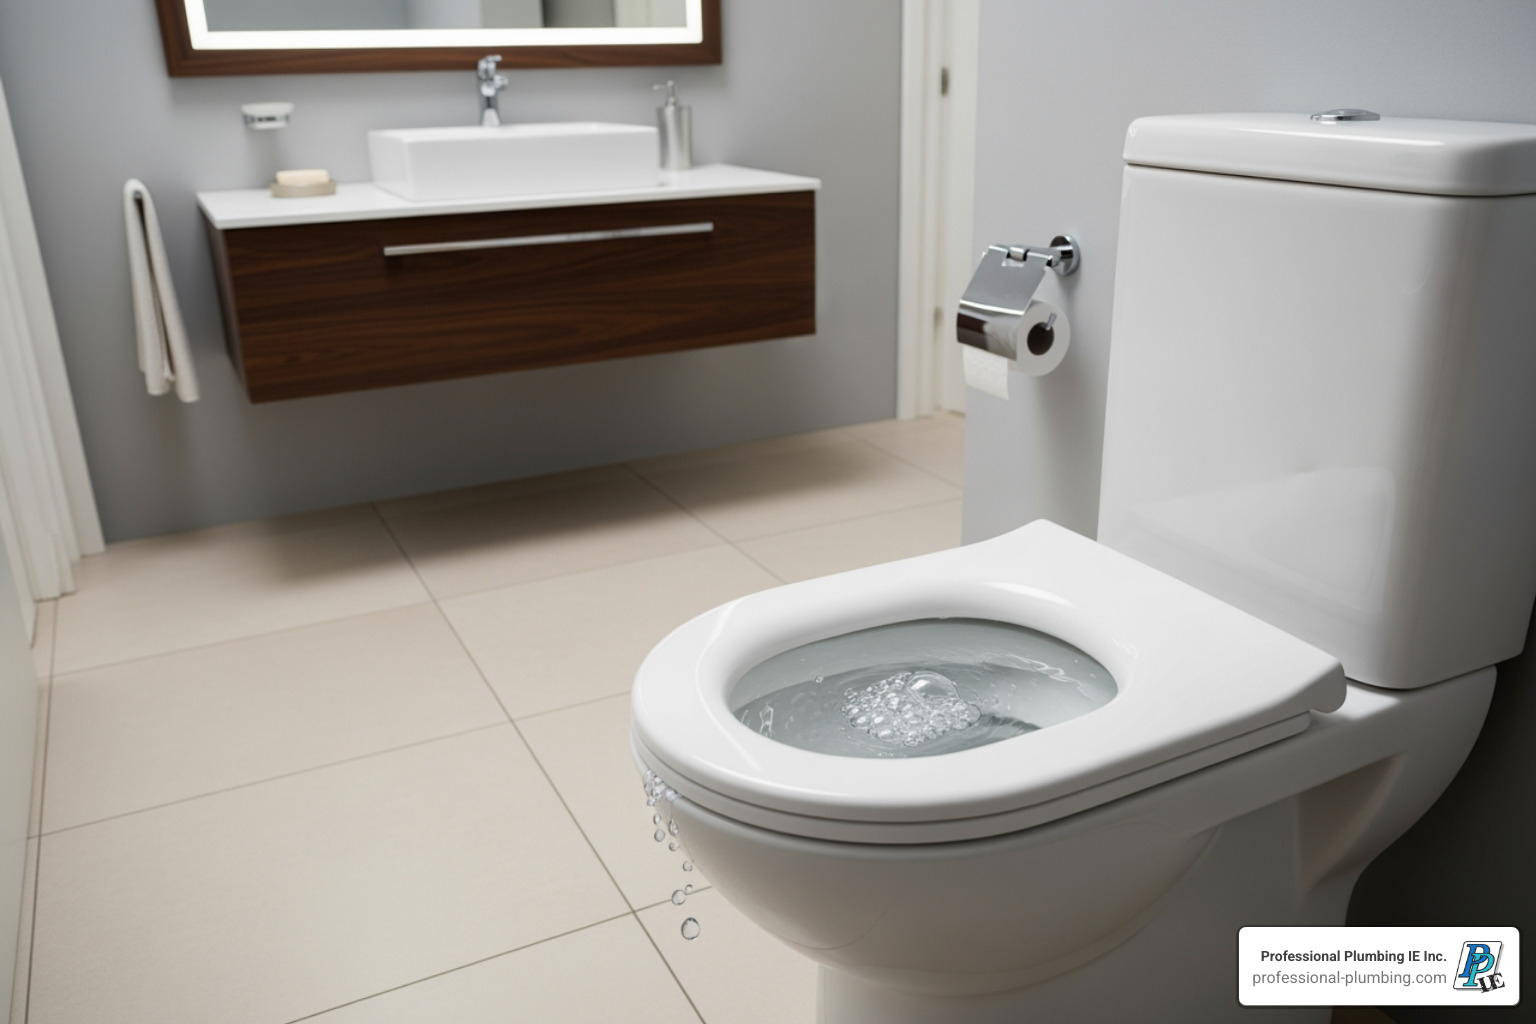
The Dangers of Ignoring a Small Drip
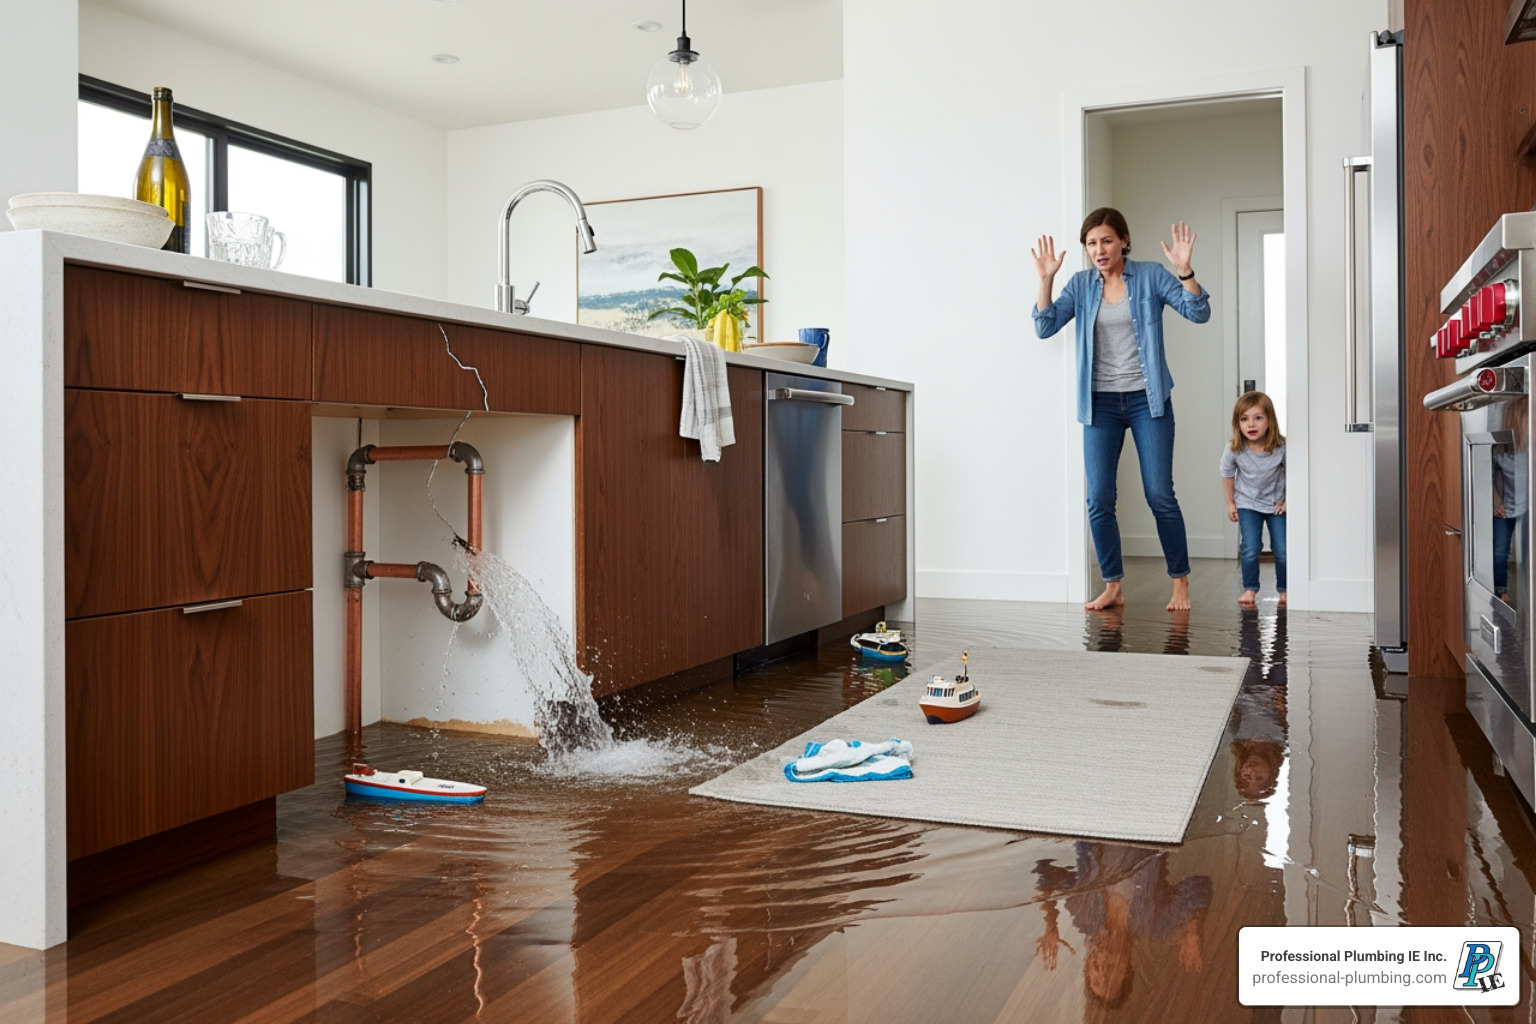
It’s tempting to put a bowl under a small drip and forget it, but that “minor” leak is causing damage daily.
- Damage and Rot: Moisture swells and ruins cabinet bases, damages drywall and flooring, and can lead to structural rot in floor joists and wall studs. A simple fix can escalate into a major restoration project.
- Mold Growth: The damp, dark space under a sink is a perfect breeding ground for mold and mildew, which can trigger allergies and respiratory issues.
- High Water Bills: That constant drip adds up. A single leaky faucet can waste more than 3,000 gallons of water per year, which means you’re paying for water you don’t use.
The bottom line is that bathroom sink leak repair should not be delayed. A quick fix today prevents an expensive and stressful problem tomorrow.
Essential Tools and Materials for Your Repair
Before starting your bathroom sink leak repair, gathering the right tools and materials will make the job much smoother. Most common leaks can be fixed with a few basic items.

Essential Tools
- Adjustable Wrench: Your primary tool for most nuts.
- Pipe Wrench: For larger drain pipe nuts (use gently on plastic).
- Screwdriver Set: Both Phillips and flathead types.
- Pliers: For gripping small or stubborn parts.
- Bucket: Essential for catching water when disassembling pipes.
- Flashlight or Headlamp: To see clearly in dark cabinets.
- Rags or Towels: For drying surfaces and cleaning up.
- Utility Knife or Scraper: To remove old putty or caulk.
- Hex Keys (Allen Wrenches): For modern faucet handle set screws.
Common Materials
- Plumber’s Putty: Creates a watertight seal for drain flanges.
- Plumber’s Tape (Teflon Tape): Seals threaded pipe connections.
- Replacement Washers and O-rings: Have a variety pack on hand, as these are common failure points.
- Faucet Cartridge: If you have a single-handle faucet, the cartridge is often the cause of leaks.
- Silicone Caulk: For sealing the sink rim to the countertop. Use a kitchen and bath-rated formula.
- Dielectric Grease: Lubricates O-rings and washers for a better seal and longer life.
Getting an exact match for replacement parts is critical. Take the old part to the hardware store to be sure. For help identifying the right components for your bathroom plumbing, our team is always ready to assist.
Step-by-Step Guide to Bathroom Sink Leak Repair
With your tools ready and the leak located, it’s time for the repair.
Safety First: Before you do anything, shut off the water. Turn the two small valves under the sink (hot and cold) clockwise until they stop. If you don’t have shut-off valves, turn off your home’s main water supply. Open the faucet to drain any remaining water. Finally, place a rag over the drain opening to prevent small parts from falling in.

How to Fix a Leaky Faucet
A dripping faucet is usually caused by worn internal parts like O-rings, washers, or a faulty cartridge.
- Remove the Handle: Pop off the decorative cap (if any) and remove the screw underneath with a screwdriver or hex key. Lift the handle off.
- Access Internal Parts: Depending on your faucet type (compression, cartridge, ball, or ceramic disc), you’ll need to remove a retaining nut, clip, or screws to access the core components.
- Replace Worn Parts: Carefully remove the old O-rings, washers, or the entire cartridge. It’s best to take the old part to a hardware store to find an exact match. Lightly coat new O-rings and washers with plumber’s grease before installation.
- Reassemble: Clean any mineral buildup off the components and reassemble the faucet in reverse order. Tighten connections so they are snug, but do not overtighten.
Slowly turn the water back on and check for drips. For complex faucet issues or if you’re considering an upgrade, explore our bathroom plumbing services.
How to Repair Leaks in the Drain Pipe
Under-sink pipe leaks often come from loose connections or worn washers.
- For Loose Connections: First, try tightening the large slip nuts that connect the pipe sections. Hand-tighten first, then give a slight turn with a wrench. Be careful not to overtighten plastic parts.
- For Worn Washers: If tightening doesn’t work, the washer inside the connection is likely bad. Place a bucket underneath, loosen the slip nut, and pull the pipes apart. Replace the old, brittle washer with a new one. Wrap the pipe threads with plumber’s tape for a better seal before reassembling.
- For a Leaky Drain Flange: If the leak is where the drain meets the sink basin, you’ll need to reseal it. Unscrew the drain assembly from below, clean off all the old putty, and apply a fresh rope of plumber’s putty to the underside of the new drain flange. Press it into the sink opening, reinstall the assembly from below, and wipe away the excess putty.
- For a Cracked Pipe: A cracked pipe must be replaced. This can be a complex job, especially with metal pipes, and may require a professional.
After any repair, run water for several minutes and check for leaks. Considering a full sink replacement? Check out our bathroom sink options.
Temporary Fixes for a Leaking Sink Pipe
If a leak happens at an inconvenient time, a temporary fix can prevent water damage until a permanent repair is possible. Options include epoxy putty, a pipe repair clamp, or a rubber patch with a hose clamp.
Important: These are emergency measures only. They are not reliable long-term solutions and can fail without warning. Plan to make a proper repair or call a professional as soon as possible.
Prevention, Costs, and When to Call a Professional
Preventing leaks and knowing when to call a professional are just as important as the repair itself. Smart decisions protect your home and your wallet long-term. Sometimes the signs that your plumbing is failing are subtle, but catching them early is key.
Preventive Measures to Avoid Future Leaks
An ounce of prevention is worth a pound of cure in plumbing.
- Inspect Regularly: Once a month, check under your sink with a flashlight for moisture, stains, or corrosion on pipes.
- Don’t Overtighten: Cranking faucet handles wears out internal parts faster. A gentle touch is all that’s needed.
- Clean the Aerator: Regularly unscrew and clean the small screen on your faucet’s spout to prevent mineral buildup and reduce strain.
- Avoid Harsh Chemicals: Chemical drain cleaners can corrode pipes, leading to leaks. Use a plumber’s snake or natural alternatives instead. For more tips, check out these easy DIY plumbing repairs for common issues.
DIY vs. Professional Bathroom Sink Leak Repair: A Cost Breakdown
Deciding whether to fix a leak yourself or call a plumber involves weighing cost, risk, and complexity. While DIY is cheaper upfront, a mistake can lead to more expensive damage. Professional repairs cost more initially but provide expertise and peace of mind.
| Feature | DIY Repair | Professional Repair |
|---|---|---|
| Upfront Cost | Low (typically under $50 for parts) | Higher ($100 – $250 for basic repairs) |
| Complex Repairs | Not recommended | $250 – $600+ for pipe replacement |
| Risk | High (risk of incorrect repair, further damage) | Low (insured and experienced) |
| Time | Varies (includes research, shopping, labor) | Fast and efficient |
| Guarantee | None | Often includes a warranty on parts and labor |
For simple tasks like tightening a nut, DIY is a great option. For anything more complex, the value and security of a professional repair are often worth the cost.
When to Skip the DIY and Call a Plumber
Knowing your limits is a sign of a smart homeowner. Call Professional Plumbing IE Inc. if you encounter any of the following:
- The leak persists after you’ve attempted a repair.
- You see severe corrosion, large cracks, or significant water damage to cabinets or flooring.
- You suspect an in-wall leak (damp spots, peeling paint, or mold on the wall).
- You experience a sudden drop in water pressure.
- You can’t find or operate the shut-off valves or lack the right tools.
- You simply don’t feel confident tackling the job.
Frequently Asked Questions about Bathroom Sink Leaks
After nearly 40 years of bathroom sink leak repair, we’ve heard every question. Here are answers to the most common ones we get from homeowners in Riverside, Eastvale, Corona, Norco, Jurupa Valley, and Mira Loma.
What are the most common causes of a bathroom sink leak?
The most frequent culprits are simple wear and tear. This includes worn-out washers and O-rings in the faucet, loose slip nuts on the P-trap and drain pipes, and failed plumber’s putty under the sink’s drain flange. Over time, faucet valve seats can also corrode, causing drips.
How can I accurately locate the source of a leak under my sink?
Use the “dry and observe” method. First, completely clear and dry the cabinet under the sink. Place dry paper towels on the cabinet floor. Then, run water in the sink and use a flashlight to watch for the first sign of moisture. The wet spot on the paper towel will reveal the exact location of the drip.
Are temporary fixes for a leaking pipe reliable?
No. Temporary fixes like epoxy putty or pipe clamps are for emergency use only to prevent immediate water damage. They are not permanent solutions and can fail without warning, potentially causing a much bigger flood. We always recommend a proper, permanent repair by replacing the faulty component as soon as possible. If you’ve used a temporary fix, call us to schedule a permanent solution.
Your Go-To Solution for Leaks
When it comes to bathroom sink leak repair, acting quickly is key. A small drip can quickly escalate, costing you money and causing hidden damage. While many simple fixes are great DIY projects, some problems require a professional touch.
If you’re facing a stubborn leak, see signs of corrosion or water damage, or simply aren’t comfortable with the repair, it’s time to call in reinforcements.
Professional Plumbing IE Inc. is a family-owned company that has served Riverside, Eastvale, Corona, Norco, Jurupa Valley, and Mira Loma for nearly 40 years. Our experienced team provides guaranteed, high-quality work at affordable rates. We don’t just fix pipes; we protect your home and restore your peace of mind.
Don’t let a plumbing problem cause you stress. For reliable, expert service, we’re here to help. Contact our plumbing experts today for reliable service in Riverside! Let’s get that leak fixed for good.


Pingback: Main Water Line Leak: 5 Critical Signs Revealed
[…] bathroom sink leak repair […]
Pingback: Plumbing Fixture Installation 2025: Ultimate Guide
[…] Test for Leaks: Turn the water on slowly. Run hot and cold water, then fill and drain the sink. Check all connections for leaks. If you find a leak, see our faucet repair Riverside complete guide or tips on bathroom sink leak repair. […]
Pingback: Home foundation leak repair: Ultimate Solutions 2026
[…] a foundation leak is actually a plumbing problem. Checking for obvious leaks from fixtures like a Bathroom Sink Leak Repair or an overflowing toilet can save you a lot of worry about your […]