Temporary fix for leaking hot water heater: 3 Urgent Steps
When Every Second Counts: Understanding Hot Water Heater Emergencies
A temporary fix for leaking hot water heater emergencies starts with three critical steps: turn off the water supply at the cold water inlet valve, shut off the power (flip the breaker for electric or turn the gas valve for gas units), and contain the leak with towels or a bucket while you assess the damage. These immediate actions prevent further water damage and buy you time until professional help arrives.
Quick Action Steps:
- Turn off water – Close the cold water shut-off valve above the heater
- Cut the power – Electric: flip breaker; Gas: turn valve to “off”
- Drain if needed – Attach garden hose to drain valve if leak is severe
- Tighten loose fittings – Use wrench on connections at top of tank
- Apply epoxy putty – For small cracks or pinholes (temporary only)
- Call a professional – Tank leaks usually mean replacement is needed
A leaking hot water heater can quickly escalate from a minor drip to a costly disaster. As one Riverside homeowner found, even a small pinhole leak patched with epoxy held up only for a weekend before failing completely—the tank had corroded from the inside. This is why temporary fixes are exactly that: temporary. They’re meant to minimize damage and keep your household running until a licensed plumber can properly assess and repair the problem.
The reality: If your water heater is leaking from the bottom of the tank or showing signs of rust and corrosion, repairs often aren’t worth the investment—especially if the unit is over 10 years old. But knowing how to safely stop the leak and contain the damage can save you thousands in water damage repairs.
With nearly four decades in the plumbing industry serving Southern California families, we at Professional Plumbing IE Inc. have seen countless water heater emergencies that could have been minimized with the right immediate response. Throughout our years helping Inland Empire homeowners, we’ve guided hundreds through emergency temporary fix for leaking hot water heater situations, and we’ll walk you through the exact steps that can prevent a small leak from becoming a major disaster.

First Response: Safely Contain the Leak and Prevent Damage
When you find a leaking hot water heater, the first priority is always safety and damage control. A small leak can quickly become a flood, causing extensive damage to your home’s structure, flooring, and personal belongings. Our goal is to minimize this damage and make the area safe while you prepare for a permanent solution.
How to Safely Turn Off the Water and Power/Gas Supply
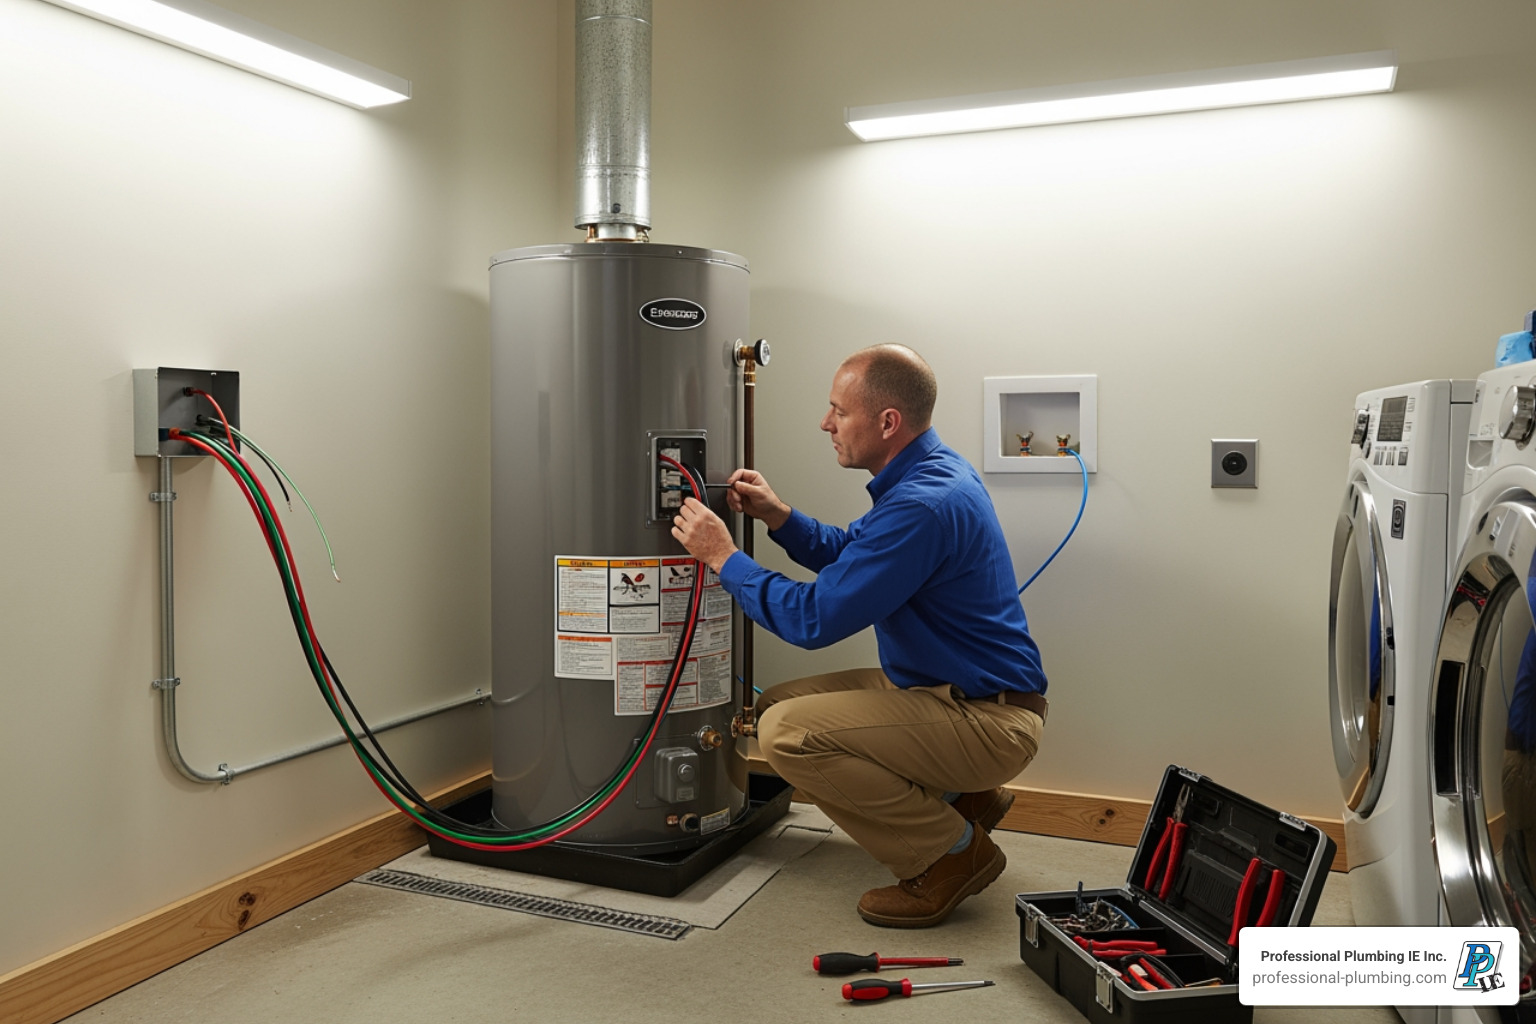
This is arguably the most critical step. You need to stop the flow of water into the leaking unit and cut off its energy source to prevent further damage and potential hazards.
- Turn Off the Cold Water Inlet Valve: Every water heater has a cold water supply line entering the top of the tank. Follow this pipe down to locate the shut-off valve, usually a handle or knob. Turn it clockwise until it’s completely closed. This will stop new water from entering the tank and feeding the leak. If you can’t access this valve or it’s not working, you’ll need to turn off the main water supply to your entire home. Knowing where your main water shut-off is located is a crucial piece of homeowner knowledge, as it can prevent disasters in many plumbing emergencies.
- Shut Off the Power (Electric Water Heater): For electric water heaters, head to your home’s electrical service panel (breaker box). Locate the breaker labeled for your water heater (it’s usually a double-pole breaker, meaning two switches connected together). Flip this breaker to the “OFF” position. This prevents the heating elements from trying to heat an empty or partially empty tank, which can cause them to burn out or create an electrical hazard.
- Shut Off the Gas Supply (Gas Water Heater): If you have a gas water heater, locate the gas shut-off valve on the gas line leading to the unit. This is typically a small lever or knob. Turn it so that it’s perpendicular to the gas pipe, indicating it’s closed. Alternatively, you can often turn the thermostat control on the water heater itself to the “PILOT” or “VACATION” setting, which will stop the main burner from firing. Always err on the side of caution with gas; if you smell gas, evacuate immediately and call your gas company.
Taking these steps quickly ensures your safety and minimizes the amount of water escaping, giving you precious time to plan your next move. For more detailed guidance on handling plumbing emergencies in the Riverside area, you can always refer to our Emergency Plumbing Repair Riverside Guide.
How to Drain the Hot Water Heater Tank Safely
Draining the tank is often necessary, especially if the leak is severe, if you plan to attempt a temporary fix on the tank itself, or if you’re preparing for replacement. However, hot water can cause severe burns, so patience is key.
- Allow Water to Cool: If possible, wait several hours (ideally overnight) after turning off the power/gas for the water inside the tank to cool down. This prevents scalding injuries.
- Connect a Garden Hose: Locate the drain valve at the bottom of your water heater. Attach a standard garden hose to this valve.
- Direct the Hose to a Safe Drainage Area: Run the other end of the garden hose to a floor drain, a utility sink, or outside your home where the water can safely drain away without causing damage. Ensure the hose is sloped downwards to allow for gravity drainage.
- Open Hot Water Taps: To help relieve pressure and allow the tank to drain properly, open one or two hot water faucets in your home, preferably one on an upper floor if you have a multi-story home. This breaks the vacuum seal inside the tank.
- Open the Drain Valve: Carefully open the water heater’s drain valve. You might need a flathead screwdriver or a wrench, depending on the valve type. Water will begin to flow out through the hose.
- Monitor Drainage: The tank can hold anywhere from 30 to 80 gallons or more, so draining can take a while. Stay nearby to monitor the process and ensure the hose remains in place.
- Close Valves and Taps: Once the tank is empty, close the drain valve and the hot water faucets you opened earlier.
Draining the tank not only helps with leak control but also prepares the unit for further inspection or removal. If you need assistance with draining or any other drain-related issues, our team is ready to help. Learn more about our comprehensive drain services.
Diagnose the Leak: Where Is the Water Coming From?
Once the immediate crisis is under control, the next step is to play detective. Pinpointing the exact source of the leak is crucial for determining the best temporary fix for leaking hot water heater and understanding whether repair or replacement is ultimately needed. Sometimes what looks like a leak is just condensation, especially in humid environments, so a thorough inspection is important. Dry the area completely with towels and then watch carefully to see where the new moisture appears.

Common Leak Sources and What They Mean
Water heaters are complex appliances with several potential leak points. Understanding what each leak signifies can help you communicate effectively with your plumber and prepare for potential costs.
- Temperature and Pressure (T&P) Relief Valve: This crucial safety device is designed to open and release water if the temperature or pressure inside the tank becomes dangerously high. If you see water dripping or flowing from the T&P valve’s discharge pipe, it often indicates one of two things:
- Excessive Pressure: Your home’s water pressure might be too high (above 80 psi, ideally 50-60 psi), or you might need a thermal expansion tank to absorb pressure fluctuations.
- Overheating: The water heater’s thermostat might be set too high. While many units are preset to 140°F, the Department of Energy suggests 120°F is hot enough for most homes and can reduce pressure.
- Faulty Valve: Less commonly, the valve itself could be faulty. However, drips from the T&P valve are usually a symptom of a larger system issue rather than a broken valve.
- Drain Valve: Located at the bottom of the tank, this valve is used for draining and flushing. It can leak due to:
- Looseness: A simple tightening with a wrench might stop a drip.
- Corrosion or Damage: Over time, the valve can corrode or develop cracks, requiring replacement.
- Sediment Buildup: Sediment can get trapped in the valve, preventing it from closing completely.
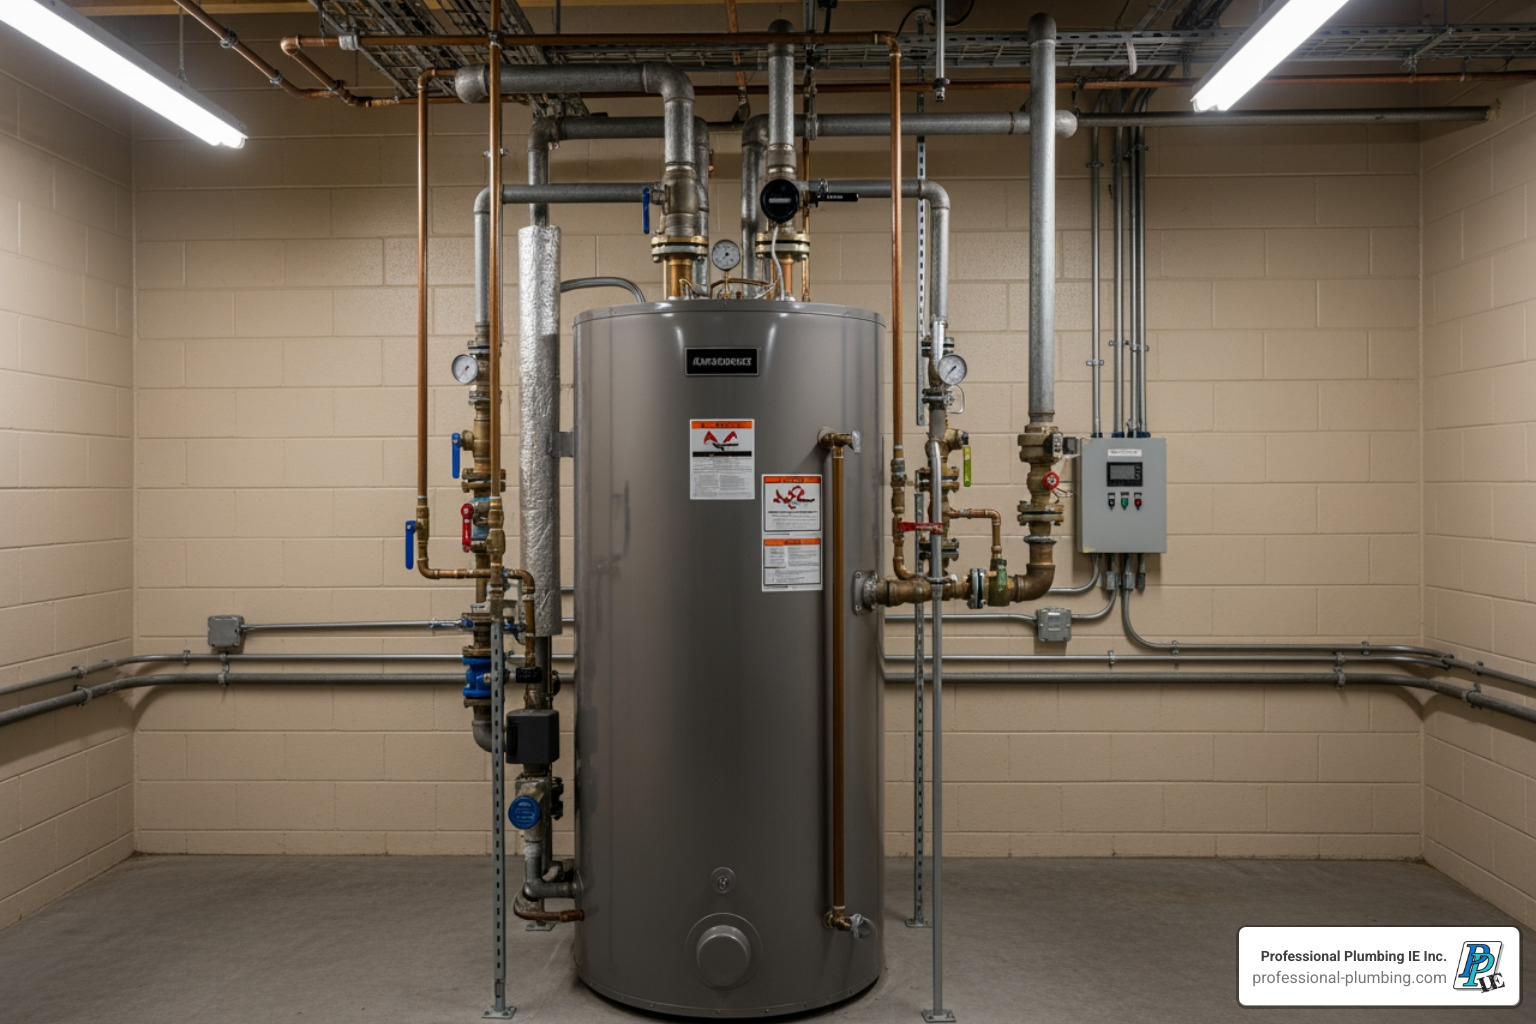
- Loose Connections/Pipe Fittings: The cold water inlet and hot water outlet pipes, as well as any associated fittings, are common leak spots. These can loosen over time due to temperature changes or vibrations.
- Flex Pipes: If your water heater uses flexible connectors, a loose connection can often be remedied by carefully tightening it with a wrench.
- Threaded Connections: Leaks here might be fixed by reapplying plumber’s tape or pipe thread sealant after ensuring the connection is secure.
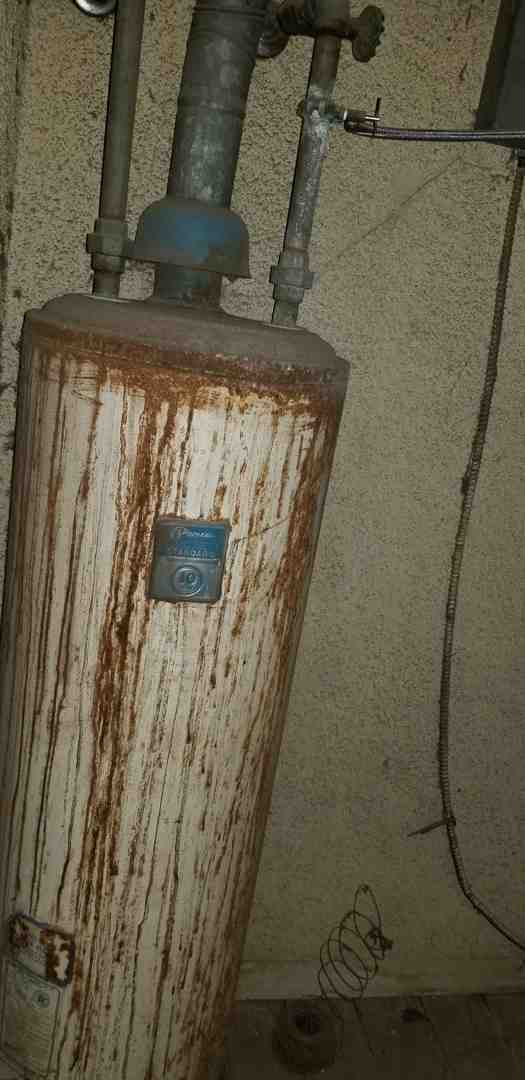
- Tank Corrosion/Pinhole Leaks: This is often the most serious type of leak. Water heaters have an internal anode rod designed to corrode before the tank itself, protecting the steel lining. However, if the anode rod isn’t maintained or replaced, or if your water is particularly corrosive, the tank can rust from the inside out, leading to pinhole leaks or larger cracks.
- Bottom Leaks: If water is leaking from the bottom of the tank, it almost always indicates internal tank corrosion. This usually means the tank liner has failed, and the unit needs replacement.
- Sediment Buildup: Accumulated sediment at the bottom of the tank can accelerate corrosion by creating hot spots and trapping moisture against the tank’s inner surface.
Understanding these common sources helps us assess the severity and potential temporary fix for leaking hot water heater options. For more in-depth information about diagnosing water heater problems, check out our article on Signs That Your Water Heater Needs Repair Pt. 1.
Your Step-by-Step Guide to a Temporary Fix for a Leaking Hot Water Heater
Once you’ve identified the leak’s source and safely addressed the water and power/gas, it’s time to consider a temporary solution. These are just stop-gap measures designed to prevent further damage and buy you time until our professional plumbers in Riverside, Corona, or Jurupa Valley can provide a permanent repair or replacement.
Essential Tools and Materials for a Temporary Fix:
- Adjustable wrench
- Plumber’s tape (PTFE thread seal tape)
- Epoxy putty (specifically designed for plumbing or wet applications)
- Clean rags or towels
- Bucket or large pan
- Wire brush or sandpaper (for cleaning surfaces)
- Gloves (especially for epoxy)
Applying a Temporary Fix for a Leaking Hot Water Heater on Pipes and Fittings
Leaks from connections are often the easiest to temporarily address.
- Tighten Loose Connections: If you’ve identified a drip from the cold water inlet, hot water outlet, or other pipe fittings, try gently tightening the connection with an adjustable wrench. Be careful not to overtighten, as this can strip threads or crack pipes, making the problem worse. If the pipes are flexible connectors, this might be all it takes.
- Apply Plumber’s Tape or Sealant: For threaded connections that are still dripping after tightening (or if you can safely disconnect and re-thread), turn off the water supply to the heater again. Use a wire brush or sandpaper to clean any corrosion or old sealant from the threads. Wrap 3-5 layers of plumber’s tape clockwise around the male threads before re-tightening the connection. This creates a better seal.
- Pipe Repair Clamps or Wraps: For small leaks on the pipes themselves (not the tank), you might use a pipe repair clamp (a metal band with a rubber gasket) or a self-fusing silicone pipe wrap. These are readily available at hardware stores. Clean and dry the pipe thoroughly, then apply according to the product instructions. These methods are generally effective for buying a few days.
For more general pipe leak solutions, you can explore our guide on Quick and Easy Ways to Seal a Leaking Pipe Temporarily.

Using Epoxy Putty for a Temporary Fix for a Leaking Hot Water Heater Tank
If the leak is a pinhole or small crack on the tank itself, epoxy putty might offer a very short-term temporary fix for leaking hot water heater.
- Prepare the Area: Ensure the water supply is off, the tank is drained below the leak level (if possible), and the area around the leak is completely dry and clean. Use sandpaper or a wire brush to rough up the surface slightly; this helps the epoxy adhere.
- Mix and Apply Epoxy Putty: Epoxy putty usually comes in a two-part stick. Knead the putty thoroughly until it’s a uniform color. This activates the adhesive.
- Press Firmly Over the Leak: Immediately press the mixed epoxy putty firmly over the pinhole or crack, molding it to cover the damaged area completely. Apply pressure for a few minutes while it starts to set.
- Allow to Cure: Follow the manufacturer’s instructions for curing time. It can range from a few minutes to several hours. Do not refill the tank or restore power until the epoxy has fully cured.
Disclaimer: While epoxy putty can stop a pinhole leak for a brief period, it is crucial to understand this is not a permanent solution for a corroded tank. If your tank is leaking, it means the internal lining has failed, and more leaks are likely to develop soon. This fix is purely to prevent immediate water damage and buy you time to schedule a professional assessment or replacement. The Riverside homeowner’s experience is a testament to this; their epoxy patch failed quickly because the internal corrosion remained.
Know Your Limits: When to Call a Professional Plumber
While these temporary fix for leaking hot water heater methods can be lifesavers in a pinch, know when to call in the experts. Attempting complex repairs on your own, especially involving gas or electrical components, can be dangerous and lead to more costly damage. Our highly trained team at Professional Plumbing IE Inc. is always ready to provide professional, guaranteed quality service in Eastvale, Riverside, Corona, Norco, Jurupa Valley, and Mira Loma.
Signs Your Water Heater Needs Replacement, Not Repair
Sometimes, a leak is a clear signal that your water heater has reached the end of its life. Trying to repair it might just be throwing good money after bad.
- Age Over 10 Years: Water heaters typically last 8 to 12 years. If your unit is older than 10 years and starts leaking, it’s likely nearing the end of its lifespan. Replacement is often more cost-effective than continuous repairs.
- Leaking from the Bottom: As we mentioned, a leak from the bottom of the tank is almost always a sign of internal tank corrosion. This is irreparable and means the entire unit needs to be replaced.
- Rusty or Discolored Water: If you notice rusty-colored water coming from your hot water taps, it’s a strong indicator of internal corrosion within the tank. This is a clear sign that your water heater is failing.
- Significant Corrosion: Visible rust on the exterior of the tank, around connections, or on the T&P valve can indicate that the tank’s integrity is compromised.
- Frequent Repairs: If you’re constantly calling for repairs, the cumulative cost can quickly exceed the price of a new, more efficient unit.
Recognizing these signs can save you from unexpected breakdowns and costly repairs. For a comprehensive look at when to consider a replacement, read our Signs That Your Water Heater Needs Repair Pt. 2. If you’re in the Riverside area, our experts can guide you through the process of water heater replacement.
The Benefits of Upgrading to an Energy-Efficient Model
Replacing an old, leaking water heater isn’t just about stopping the leak; it’s an opportunity to upgrade to a more energy-efficient model that can save you money and provide better performance for years to come.
- Lower Energy Bills: Newer water heaters, especially those with ENERGY STAR certification, are designed to be significantly more energy-efficient than models from a decade ago. This translates directly into lower monthly utility bills, often offsetting a portion of the replacement cost over the unit’s lifespan.
- Better Performance: Modern water heaters offer faster recovery rates, more consistent hot water, and advanced features for better control and diagnostics.
- Environmental Benefits: Reduced energy consumption means a smaller carbon footprint, contributing to a healthier environment.
- Tankless Water Heaters: Many homeowners are now opting for tankless water heaters, which heat water on demand rather than storing it. This eliminates standby heat loss, provides an endless supply of hot water, and can significantly reduce energy use. They also typically have a longer lifespan (up to 20 years compared to 8-12 for traditional tanks).
Investing in an energy-efficient water heater is a smart decision for your wallet and the planet. You can explore the many advantages of these modern units, including tankless models, in our guide on The Benefits of Tankless Water Heaters.
Frequently Asked Questions about Water Heater Leaks
We often hear similar questions from homeowners experiencing water heater leaks. Here are some of the most common ones:
Can a leaking water heater be repaired?
Yes, a leaking water heater can sometimes be repaired, but it depends entirely on the source and nature of the leak. Minor leaks from external components like loose fittings, the drain valve, or even a T&P relief valve (if the issue is high pressure, not the valve itself) are often repairable. These repairs might involve tightening connections, replacing a faulty drain valve, or addressing system-wide pressure issues. However, if the leak originates from the tank itself due to internal corrosion or a crack, the unit is generally beyond repair and will need to be replaced.
How long will a temporary fix last?
A temporary fix for leaking hot water heater is, by definition, short-lived. Its purpose is to mitigate immediate damage and buy you time—usually a few hours to a few days—until a professional plumber can arrive for a permanent solution. The exact duration depends on the severity of the leak, the type of temporary fix applied, and the underlying cause. For example, tightening a loose fitting might hold longer than an epoxy patch on a corroding tank. Never rely on a temporary fix as a long-term solution.
What are the risks of ignoring a leaking water heater?
Ignoring a leaking water heater carries significant risks:
- Extensive Water Damage: Even a slow drip can lead to thousands of dollars in damage to floors, walls, ceilings, and personal property. A catastrophic tank failure can flood an entire area in minutes.
- Mold and Mildew Growth: Constant moisture creates an ideal environment for mold and mildew, which can cause health problems and further property damage.
- Structural Damage: Prolonged water exposure can weaken wooden structures, leading to costly structural repairs.
- Safety Hazards: Leaks can short-circuit electrical components (for electric heaters) or lead to gas leaks (for gas heaters), posing fire or explosion risks.
- Inefficiency and Higher Bills: A leaking tank constantly loses hot water, forcing the unit to work harder and consume more energy, driving up your utility bills.
Don’t Wait for a Drip to Become a Disaster
A leaking hot water heater is more than an inconvenience; it’s a plumbing emergency that demands immediate attention. While a temporary fix for leaking hot water heater can provide crucial breathing room, it’s never a substitute for a professional assessment and a permanent solution. Our family-owned and operated plumbing company, Professional Plumbing IE Inc., has been serving the communities of Eastvale, Riverside, Corona, Norco, Jurupa Valley, and Mira Loma for nearly 40 years. We understand the urgency and stress a leaking water heater can cause.
We pride ourselves on providing professional, guaranteed quality service at affordable rates, always prioritizing customer satisfaction. Whether you need an emergency repair, a detailed diagnosis, or a full water heater replacement, our highly trained team is here to help. Don’t let a small drip become a catastrophic flood. Protect your home and your peace of mind.
If you’re facing a water heater emergency in the Riverside area, don’t delay. Contact our team for expert Water Heater Service repair and replacement. We’re here to restore your hot water supply with the care and expertise you deserve.